Intro: Why DIY for Pets?
There’s something solid about making things with your hands—especially when it’s for your pet. DIY pet crafts offer a rare combo: they’re personal, they’re fun, and they won’t empty your wallet. That old hoodie you never wear? It becomes a tug toy. A sock with a hole? Now it’s a catnip mouse. You’re not shopping for your pet—you’re building for them.
But this goes deeper than saving money. Setting aside time to craft for your pet creates a different kind of connection. You’re not just the one who fills the bowl—you’re the one who made the toy they chew on at night. Pets may not speak, but they know when something’s made with attention. You feel it too, in the quiet moments spent figuring out the right knot or stitching a soft corner. It’s presence, shared differently.
And here’s the bonus: these projects are often good for both of you. Many DIY ideas upcycle things you would’ve tossed and use materials you already trust. That means less waste, safer stuff, and more of what your pet actually needs. No assembly-line fluff, just everyday items turned into comfort and joy.
Easy Toy Projects
Braided T-Shirt Tug Toy
Turn your worn-out t-shirts into hours of fun for your pup. This fuss-free tug toy is easy to make, durable, and perfect for games of fetch or tug-of-war.
What You’ll Need
- 2–3 old cotton t-shirts (thinner shirts are easier to braid)
- Scissors
How to Make It
- Cut: Slice the shirts into long, even strips—around 1 to 2 inches wide.
- Group: Gather strips into three equal bundles.
- Tie: Knot the strips together at one end.
- Braid: Tightly braid the strands until you reach the end.
- Tie Again: Secure the braid with another firm knot.
Pro Tip: Add more strips to each bundle for a thicker rope. Always supervise playtime to make sure the toy stays safe.
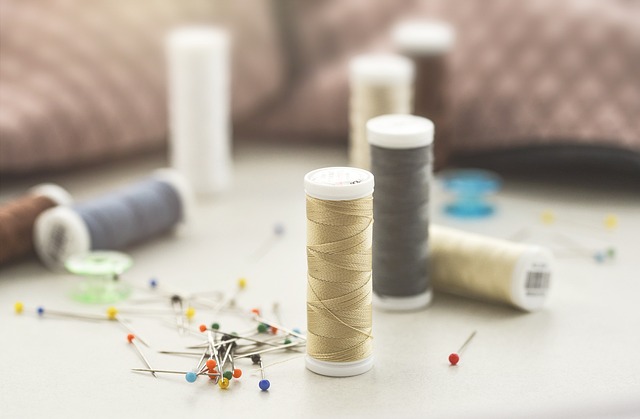
Sock Catnip Mice
Have some lonely socks lying around? Give them a second life as a catnip-stuffed mouse—your cat will thank you.
What You’ll Need
- Clean, old sock (no holes!)
- Dried catnip
- Cotton or fabric scraps for stuffing
- Needle and thread or fabric glue
- Felt/fabric scraps for optional ears and tail
How to Make It
- Fill: Add a spoonful of dried catnip and some soft stuffing to the toe of the sock.
- Shape: Bunch it into a ball or oval shape—whatever feels ‘mousy.’
- Seal: Sew the open end closed with a few tight stitches, or use fabric glue and let it dry fully.
- Decorate (optional): Add felt ears, button eyes (only if your cat isn’t a chewer), or a yarn tail for extra whimsy.
Safety Note: Keep choking hazards—like small plastic eyes—out of reach or skip them altogether. Always observe your cat with a new toy before leaving it out unattended.
No-Sew Bandanas & DIY Collars and Tags
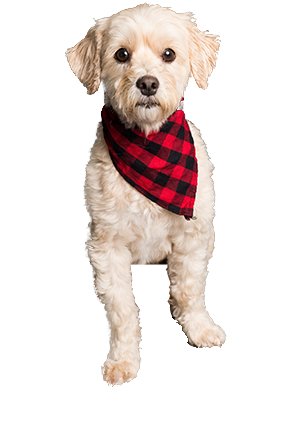
No-Sew Bandanas
No sewing machine? No problem. A no-sew bandana instantly upgrades your pet’s look with minimal effort. All you need is a square piece of fabric (light cotton works best), scissors, and maybe some fabric glue if you’re feeling fancy. Fold it diagonally into a triangle, trim the edges for a clean look, and tie it gently around your pet’s neck. Done.
For seasonal flair, lean into what’s on the calendar. Halloween bandanas with tiny pumpkins, a red tartan for winter holidays, pastel cheers for spring birthdays—these little touches go a long way. Use fabric pens or iron-on letters to add names, nicknames, or cheeky slogans for extra personality.
DIY Collars and Tags
Paracord collars are sturdy and surprisingly simple to make once you get the knots down. Pick two to three colors, watch a quick tutorial, and you’ll have something strong enough for daily wear—and custom enough that no one else at the dog park has it. Bonus: they’re tough, washable, and way kinder on your wallet than store-bought options.
As for ID tags, skip the generic engravings. Grab some metal stamping blanks or wooden discs and create your own. Add your contact info, sure—but why not also etch in a nickname or include a fun shape? A fish for a cat, a bone for a pup. Seal it with a waterproof finish and clip it to the collar. Functional and personal. That’s the whole point.
These simple accessory projects won’t just make your pet stand out—they’ll make you feel more connected to them, too.
Upcycled Pet Beds & Fleece Blankets
Old sweaters, crates, and a bit of padding—it doesn’t take much to build a better nap spot. For dogs, grab a sturdy sweater, stuff it with foam or folded towels, and stitch or tie off the ends to keep the shape tight. Drop it in a plastic crate or on a favorite rug. For cats, the setup can be softer: use a shallower box or basket, line it with fleece scraps and old pillows, and let them burrow in. Cats like to feel tucked in; dogs usually sprawl out, so tailor the padding accordingly.
Want an easier comfort upgrade? Fleece blankets are the no-sew winner. Just pick two squares of fleece, cut strips along the edges, and knot them together. That’s it. You’ve got a soft, washable layer perfect for crates, kennel pads, or the back seat of your car. Bonus: fleece doesn’t fray and stands up well to pet fur and post-walk mud.
These aren’t just cozy add-ons—they’re practical, modular, and way cheaper than commercial options. Plus, you’re getting rid of old stuff and making something your pet will actually use.
Eco-Friendly & Recycled Crafts
DIY can be creative and conscious. Choosing eco-friendly materials for your pet crafts not only saves money—it also reduces your environmental impact. This section will guide you on how to upcycle responsibly while prioritizing pet safety.
Choose Pet-Safe Recycled Materials
Not all recycled materials are safe for pets. Here’s what to look for when going green:
- Natural Fabrics: Stick with cotton, fleece, and denim—preferably from old clothes or linens
- Color Safety: Use undyed or pet-safe-dyed fabrics (avoid anything that may contain toxic colorants)
- Avoid Treated Materials: Don’t use upholstery or treated wood that may have chemical finishes or residues
Reuse Containers for Enrichment Games
Got leftover plastic containers or jars? Turn them into treat puzzles or slow feeders:
- Food-Grade Plastic Only: Use containers that originally held food (yogurt cups, large peanut butter jars, etc.)
- No Sharp Edges: Smooth out any rough areas before giving to your pet
- Use for Supervised Play: These puzzles should be used under your supervision to avoid breakage or ingestion
Waste Less While Creating More
Sustainable crafting starts with better habits. Here’s how to reduce waste:
- Plan Around Leftovers: Save fabric scraps, ribbon bits, or extra Velcro from other projects—they can be reused on smaller crafts
- Repurpose Regularly: Label a bin for reusable materials so you have DIY essentials ready for impromptu creative sessions
- Avoid One-Time Use Projects: Focus on crafts that can endure play or wear, not just look good for a photo or quick moment
Creating sustainable projects means making items that truly serve your pets—both in fun and function, without adding to landfill waste.
Bonus: Travel-Ready DIY for Pets
Hitting the road with your pet? A few simple DIY projects can make a world of difference in keeping your companion happy and your trip hassle-free. Start with a snack pouch: sew or repurpose a small, washable drawstring bag to carry treats or kibble. Easy access, no mess.
Next up, a collapsible water bowl. Silicone versions are great, but you can also make a lightweight version using waterproof fabric and a few stitches. Foldable, rinseable, and space-saving.
Lastly, a travel mat. Think yoga mat meets pet bed. Use fleece or durable canvas, and add a bit of cushioning. It rolls up tight and unrolls into familiar comfort whether you’re stopping at a campsite or crashing in a hotel room.
Your pet doesn’t care how stylish the gear is—but having personalized, portable essentials makes travel smoother for both of you.
(More on travel with pets: Traveling With Pets – Tips for a Safe and Enjoyable Trip)
Safety First
Before you dive into pet DIY, safety needs to come first. That starts with materials. Not all glue and dye are created equal—some off-the-shelf options can contain harsh chemicals or toxins that are dangerous for animals if licked or chewed. Stick with non-toxic glues labeled kid-safe, or better yet, pet-safe. When it comes to colorants, go for natural or food-grade dyes. If you wouldn’t want it near your skin or mouth, your pet definitely shouldn’t be exposed to it.
Avoid small, loose, or scratchy elements like buttons, plastic eyes, and frilly trims. These might look cute, but they’re choking hazards waiting to happen, especially if your pet plays rough or loves to chew. Loose threads and overly frayed edges can also cause issues—if a pet swallows enough string, it can lead to serious digestive problems.
Know your limits. If a project involves stitching sturdy seams, reinforced hardware, or load-bearing parts (like certain collars or harnesses), it might be safer to buy a trusted commercial version instead. DIY shines when you’re making toys, accessories, and comfort items—but use common sense. Your pet doesn’t need fancy, just safe and sturdy.
Wrapping Up
DIY pet crafts go beyond being Pinterest-worthy. They’re a smart, grounded way to care for the animals we love. When you make something yourself—whether it’s a tug toy from an old shirt or a cozy fleece blanket—you’re building a piece with intention. It’s tailored to your pet’s quirks and made with hands-on time that matters.
The best part? These projects are made to be used. No shelf-decoration energy here. Rotate blankets, refresh catnip toys, remake beds seasonally—keeping things fresh makes them more useful and keeps your pet engaged.
Sure, store-bought accessories do the trick, but they’re made for everyone. DIYs are made for one: your animal. And that’s where meaning sticks. A handmade toy is more than a plaything—it’s a gesture, a moment, and a memory your pet gets to roll around in, literally.
 Thadriel Tavendria, the founder of Pet Hub Loop, created the platform to help strengthen the bond between people and their pets. With a passion for animal welfare, he envisioned a trusted hub offering pet news, breed guides, product reviews, and training advice—making Pet Hub Loop a supportive resource for pet owners everywhere.